 LNEYA
LNEYA
 简体中文
简体中文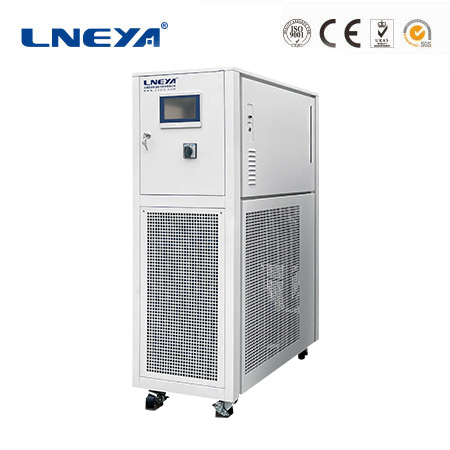
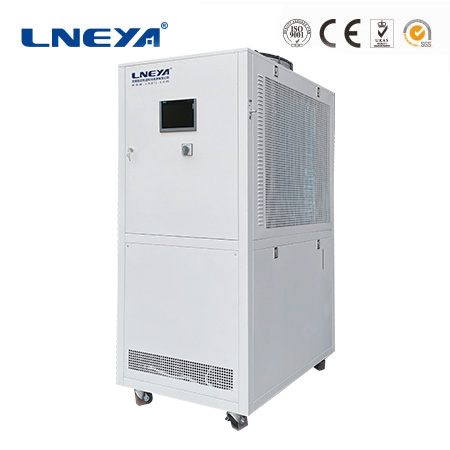
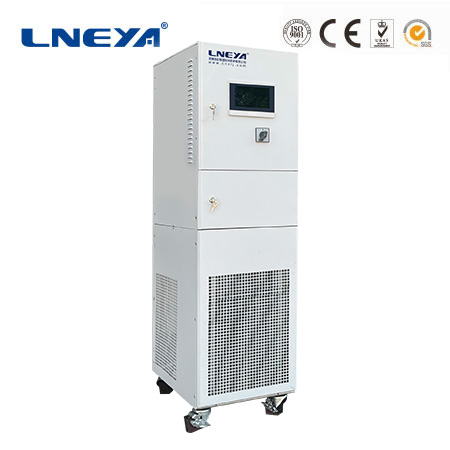
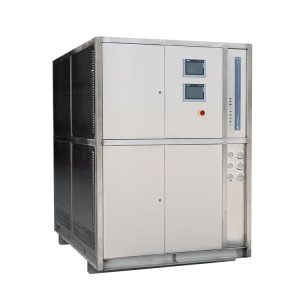
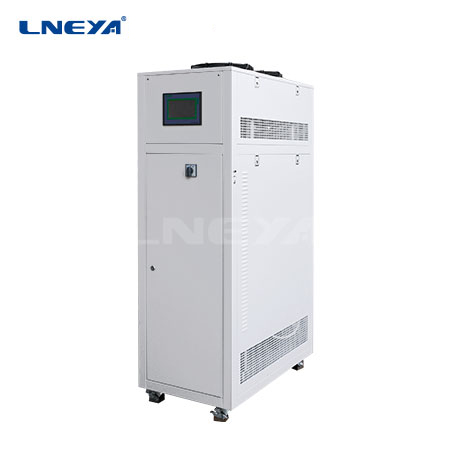
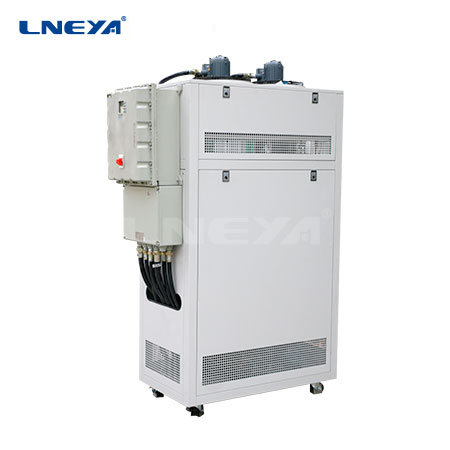
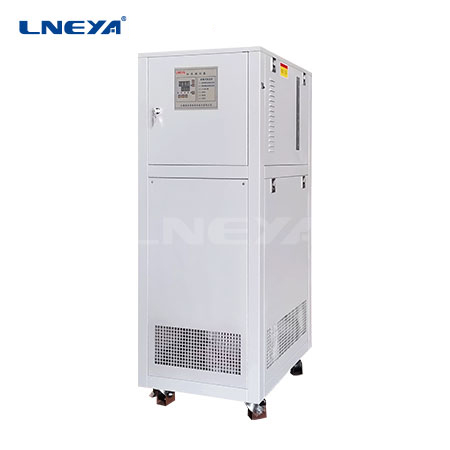
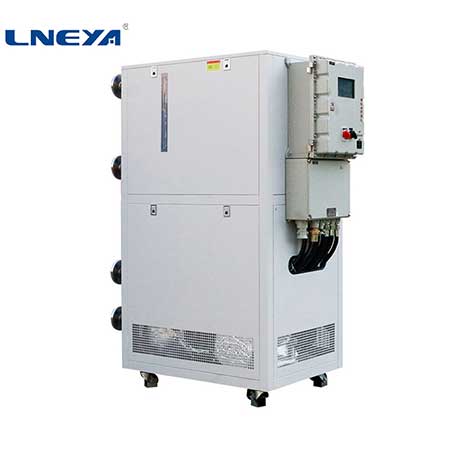


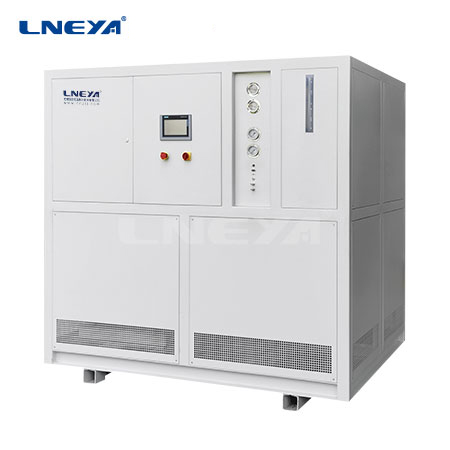
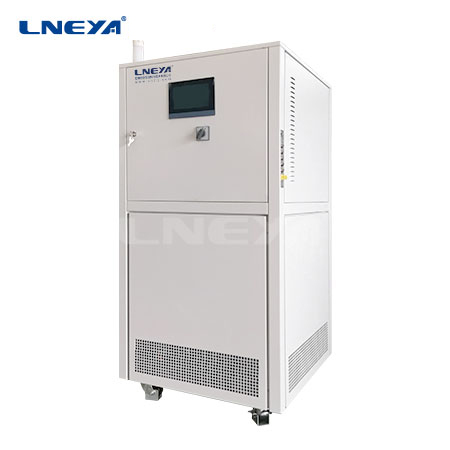
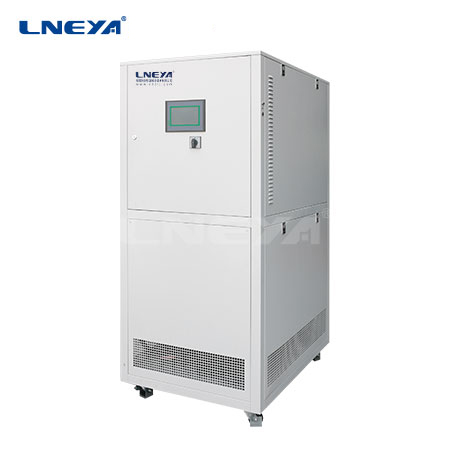
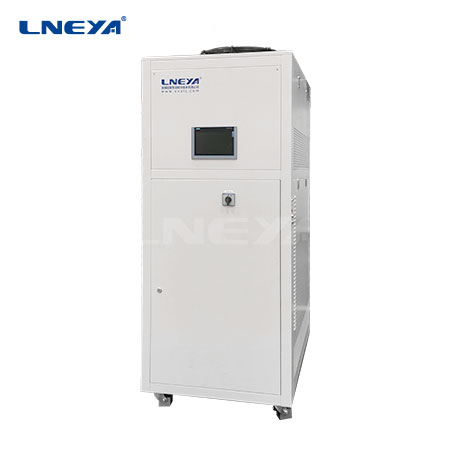
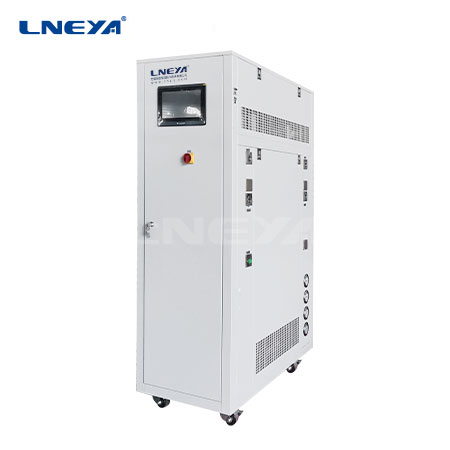
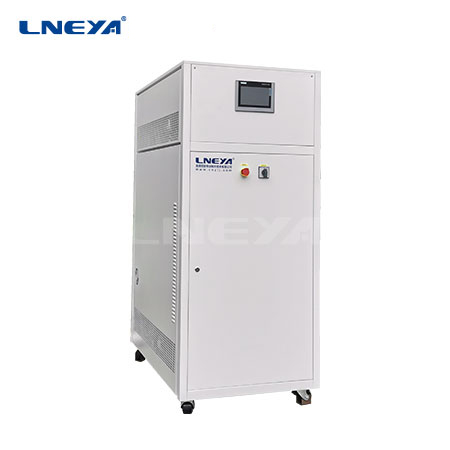

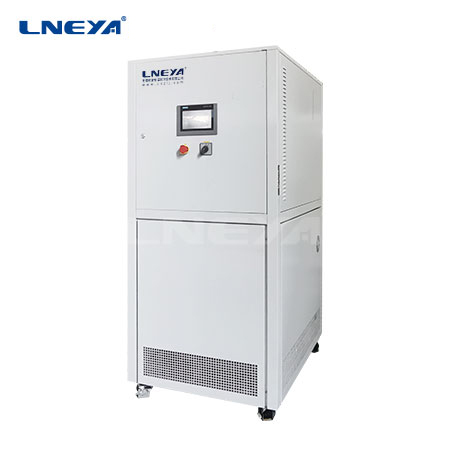
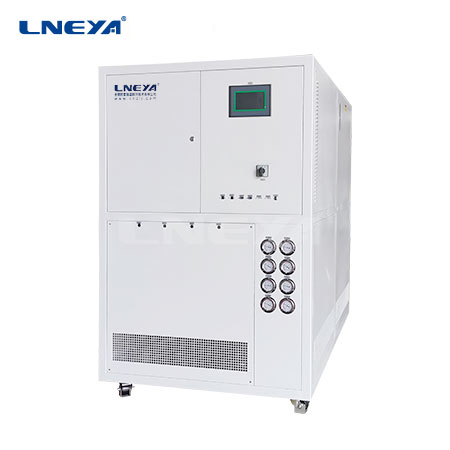
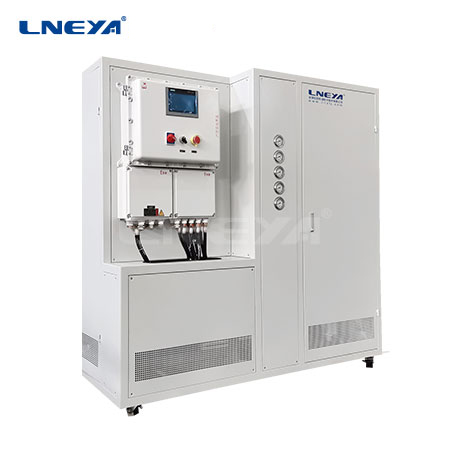
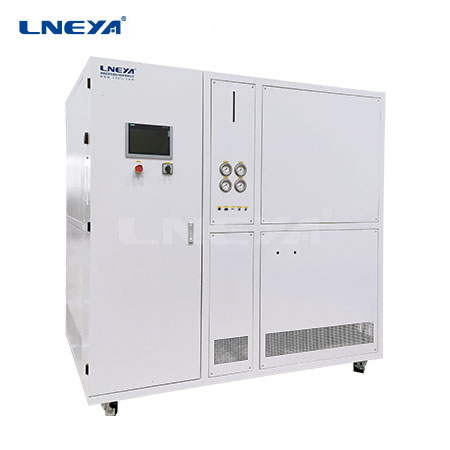
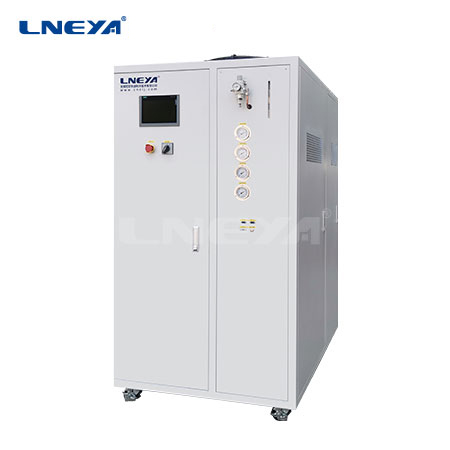
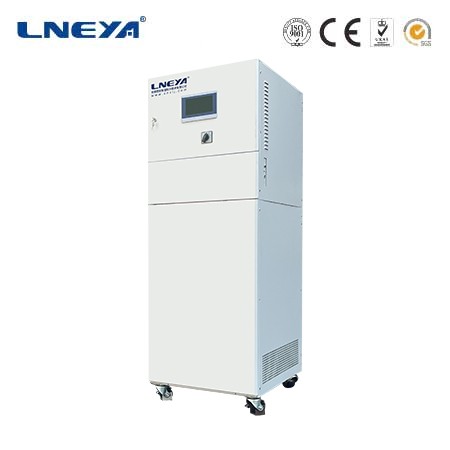

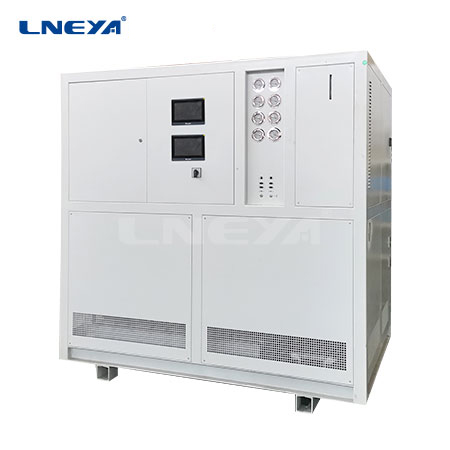
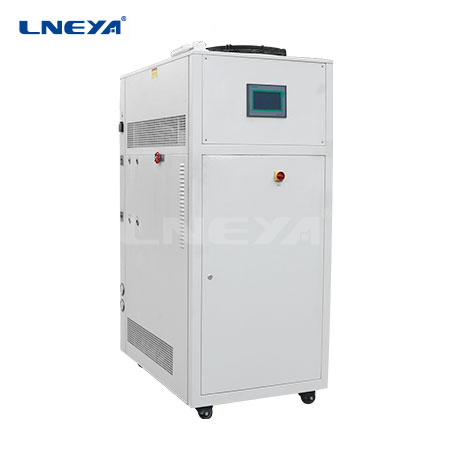

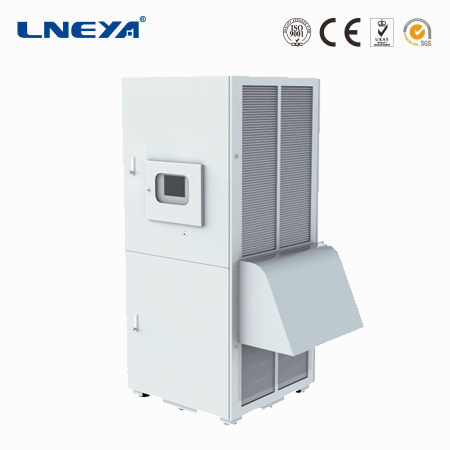
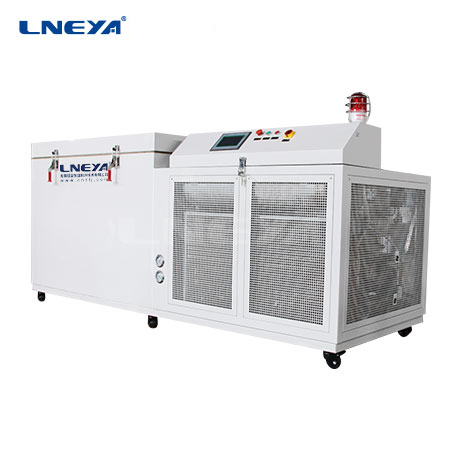
Air-Cooled Chiller Installation
step 1:
The first task is to choose the installation location of the air-cooled chiller unit. This location provides adequate cooling for the entire surrounding area.
Step 2:
Makes the ground at the selected location shockproof. This can be done with the usual anti-vibration pads and rubber.
Step 3:
After preparing the location and ground setup, place the chiller to finish making sure not to damage it during delivery.
Step 4:
Unpack all parts and inspect all parts for any malfunction or damage.
Step 5:
Unpack the parts according to the chiller manufacturer’s instructions.
Step 6:
Follow the instructions to assemble the parts and start your air-cooled chiller unit.
Step 7:
Connect the chiller to a suitable power source and start it. Reset the operating parameters and initial settings according to your requirements.
Step 8:
Run the device for at least 15 minutes before using it for process applications.
Step 9:
Check that it is working effectively during those 15 minutes, then start your air-cooled chiller unit for process application.
私たちは、最高級のオンタイムデリバリーをお約束 温度制御機器プロンプトが表示さに裏打ちされ、慎重アフターサービス。 ご相談ください 詳細はこちら!
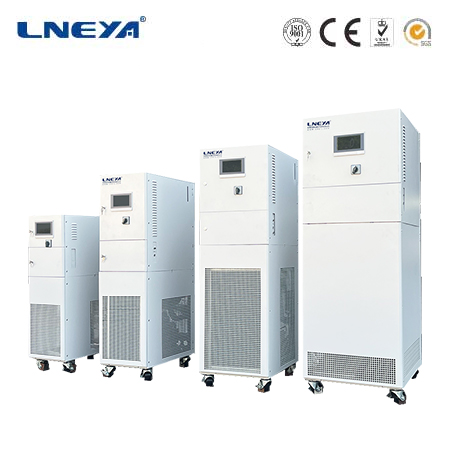
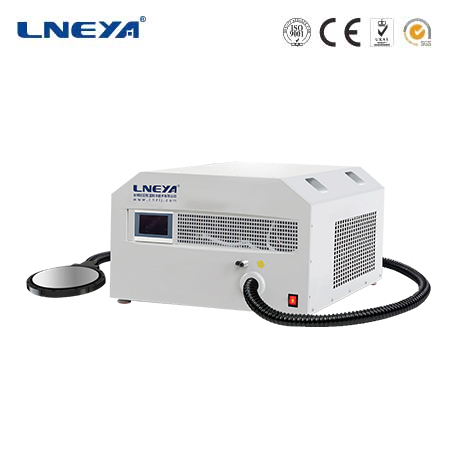
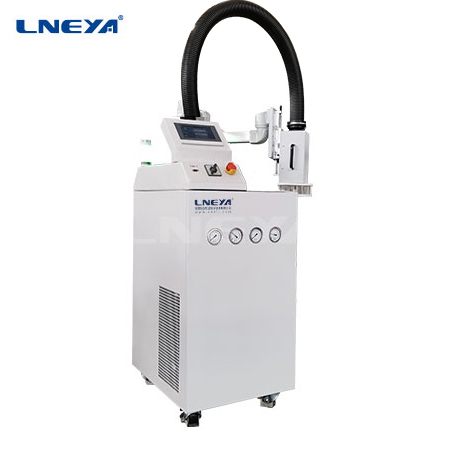
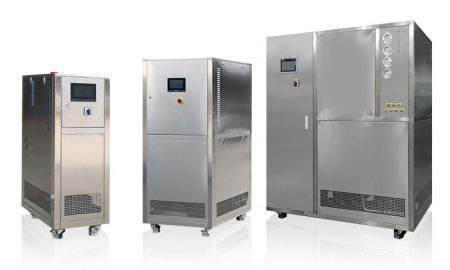
温度制御範囲:-150℃~+50
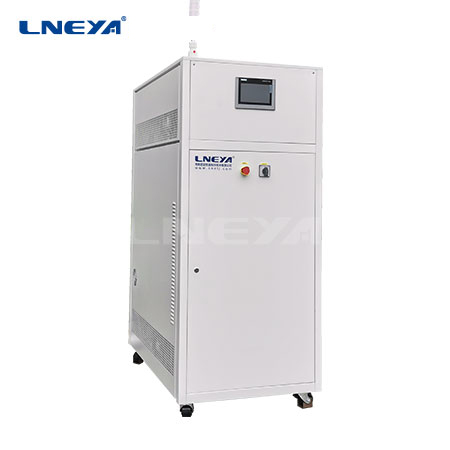
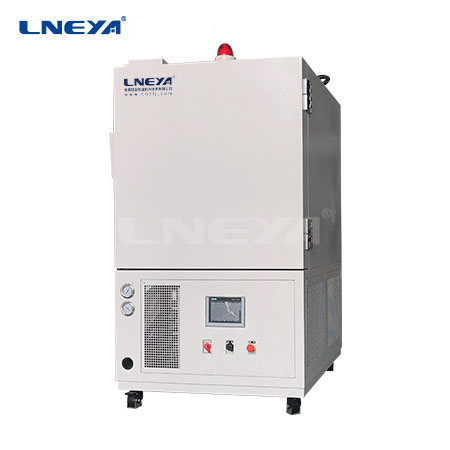
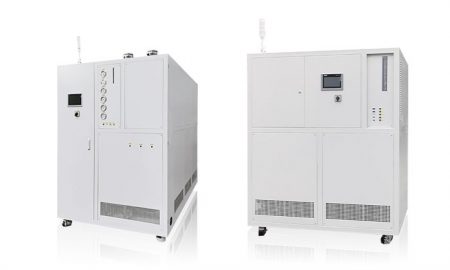
温度制御範囲:-120°C~+350°C
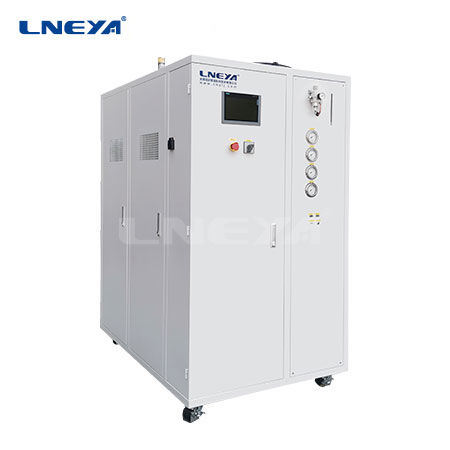
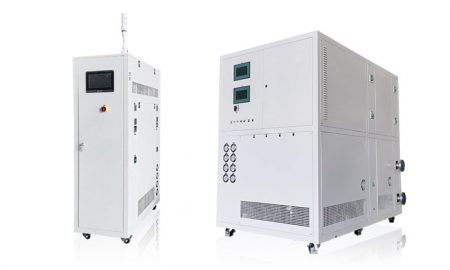
温度制御範囲:-40℃~+100
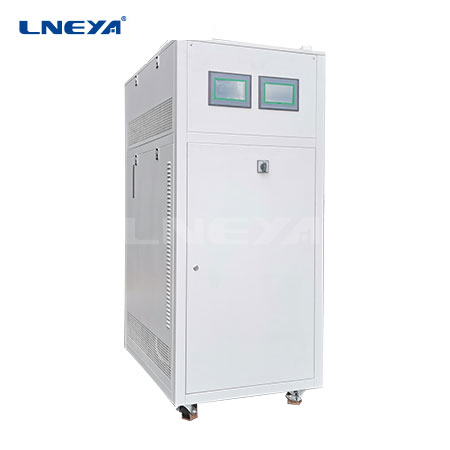
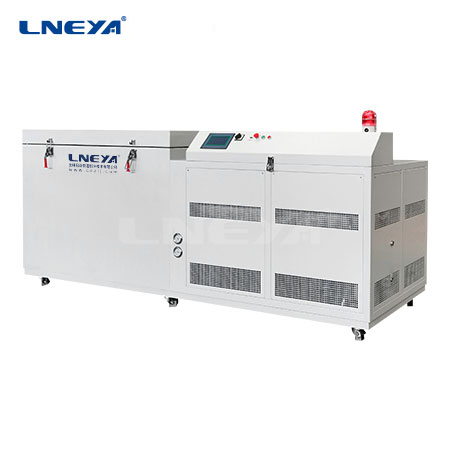
温度制御範囲:-85℃~+250
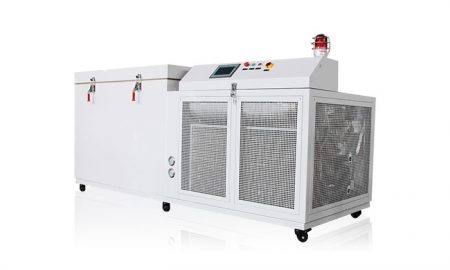
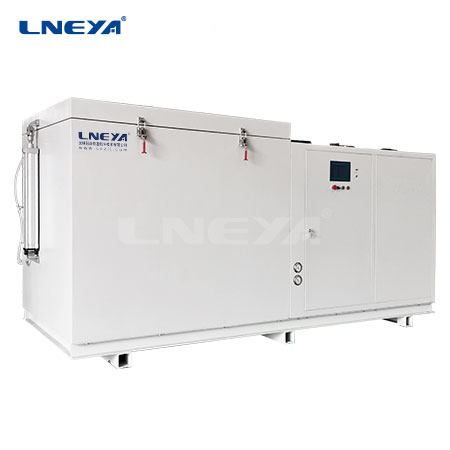
温度制御範囲:-150℃~-10
著作権情報はlneya-online.comに帰属します。詳細はメールにてお問い合わせください: lilia@lneya.com
または、下記のWhatsAppまたはWeChatのQRコードをスキャンしてお問い合わせください。
WhatsAPP WeChat