 LNEYA
LNEYA
 简体中文
简体中文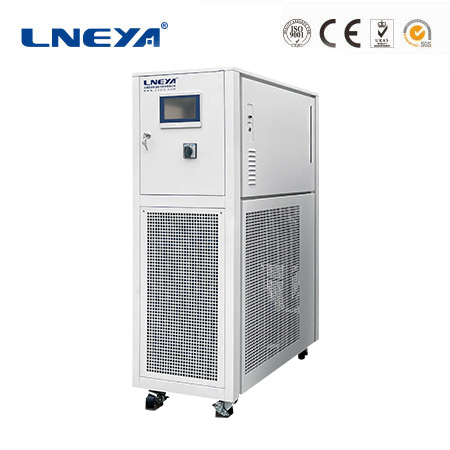
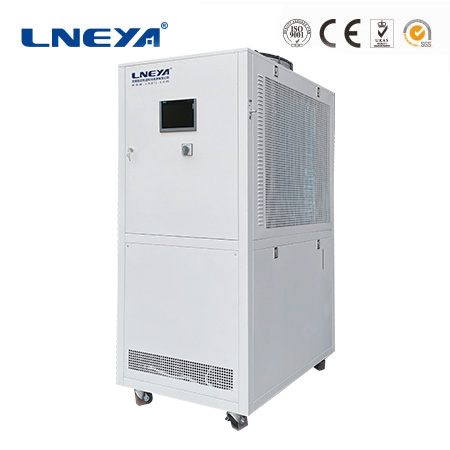
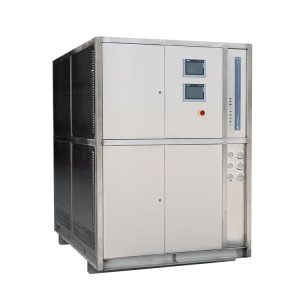


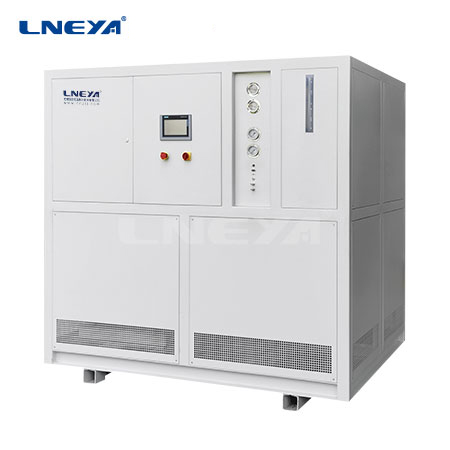
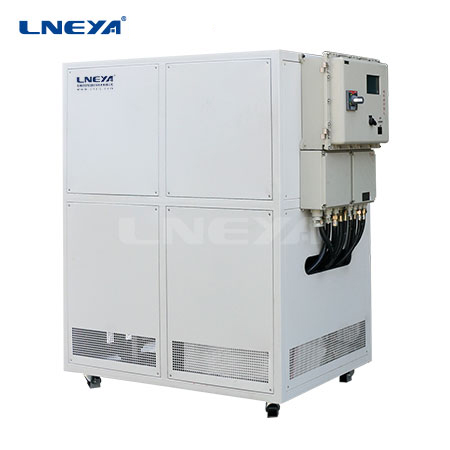
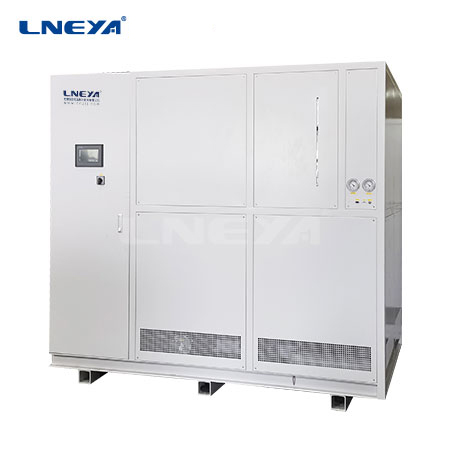
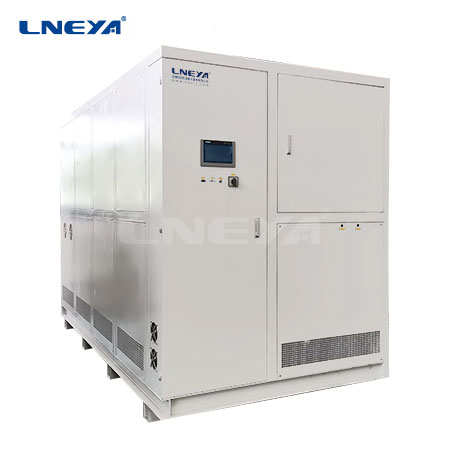
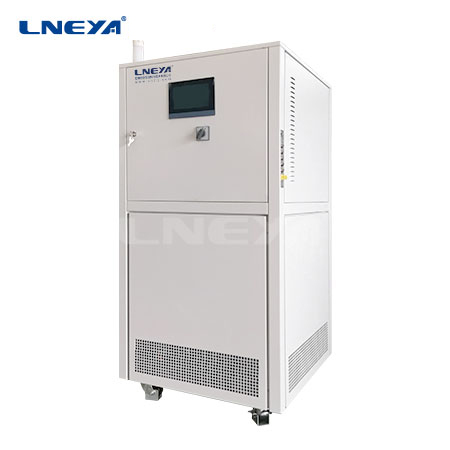
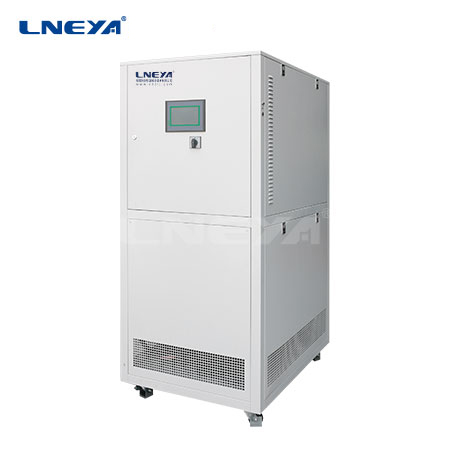
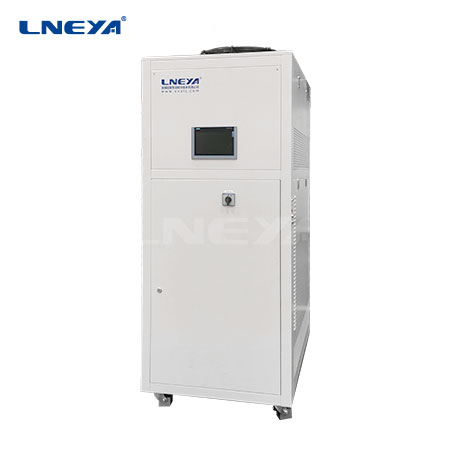
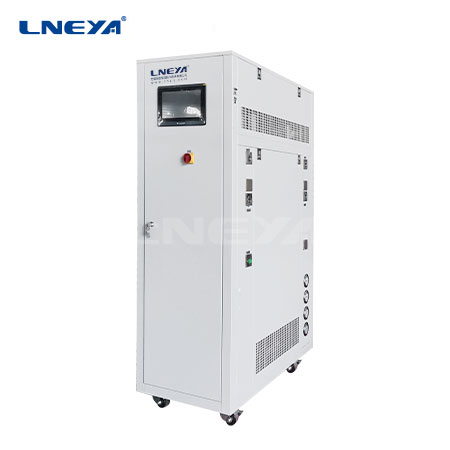

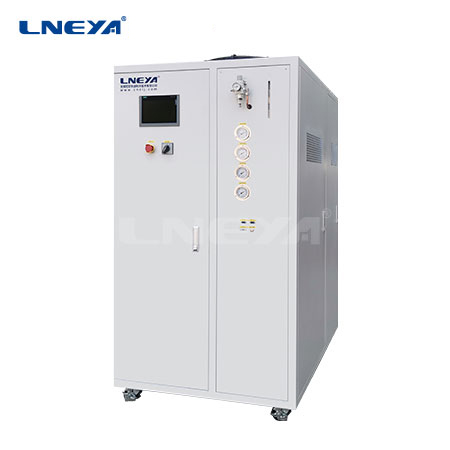
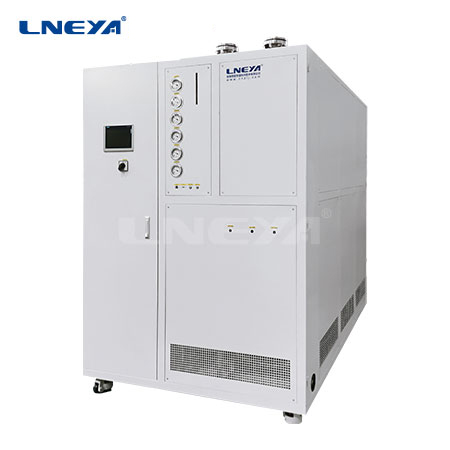

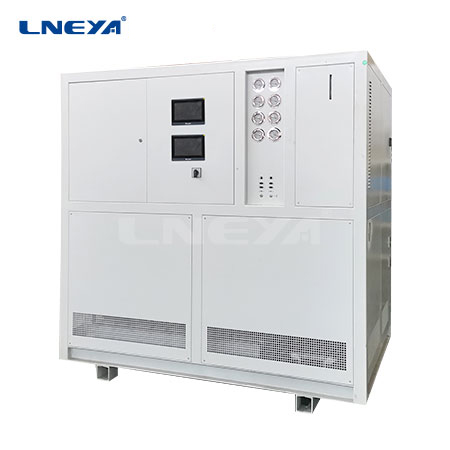
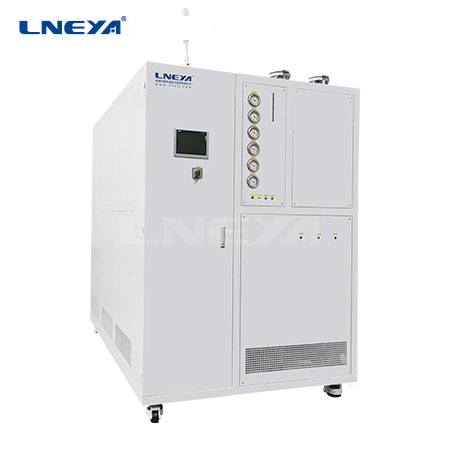
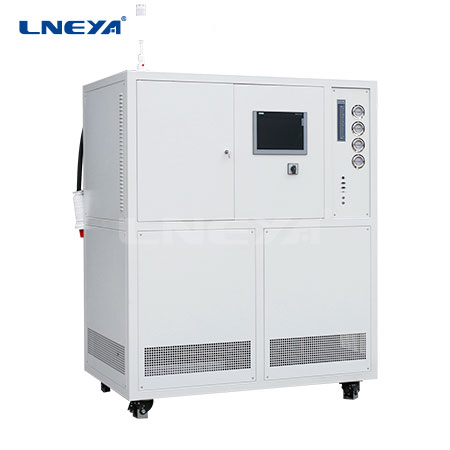
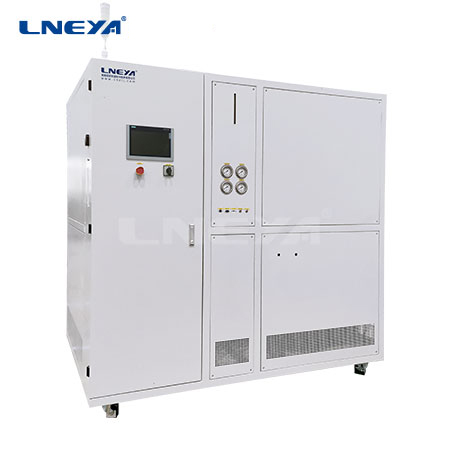

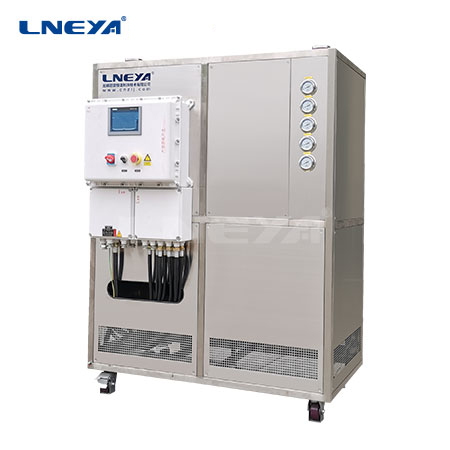
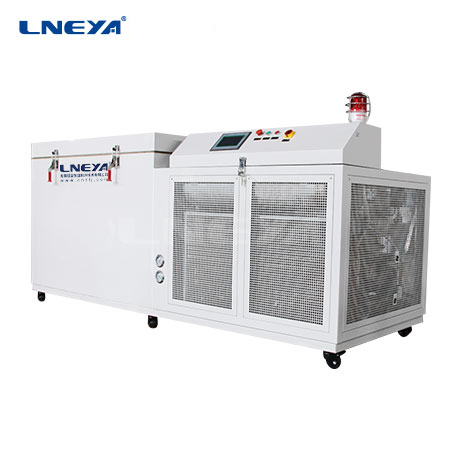
Air-Cooled Chiller Installation
step 1:
The first task is to choose the installation location of the air-cooled chiller unit. This location provides adequate cooling for the entire surrounding area.
Step 2:
Makes the ground at the selected location shockproof. This can be done with the usual anti-vibration pads and rubber.
Step 3:
After preparing the location and ground setup, place the chiller to finish making sure not to damage it during delivery.
Step 4:
Unpack all parts and inspect all parts for any malfunction or damage.
Step 5:
Unpack the parts according to the chiller manufacturer’s instructions.
Step 6:
Follow the instructions to assemble the parts and start your air-cooled chiller unit.
Step 7:
Connect the chiller to a suitable power source and start it. Reset the operating parameters and initial settings according to your requirements.
Step 8:
Run the device for at least 15 minutes before using it for process applications.
Step 9:
Check that it is working effectively during those 15 minutes, then start your air-cooled chiller unit for process application.
Wir sind ein professioneller Hersteller von Temperaturkontrollgeräten und unterstützen kundenspezifische Dienstleistungen, bitte uns konsultieren für Details!
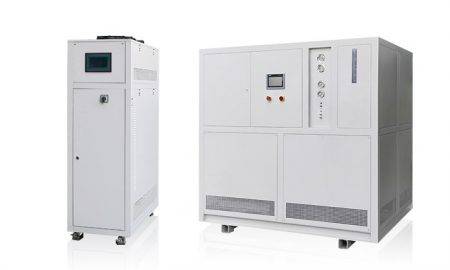
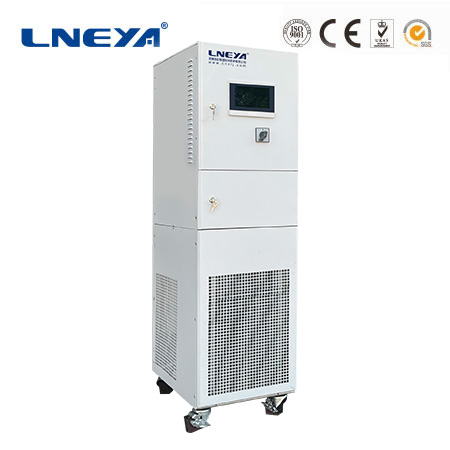
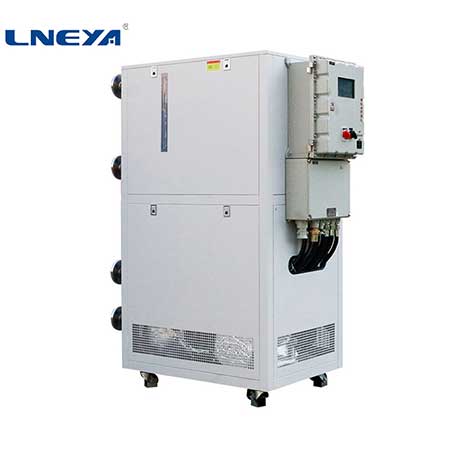
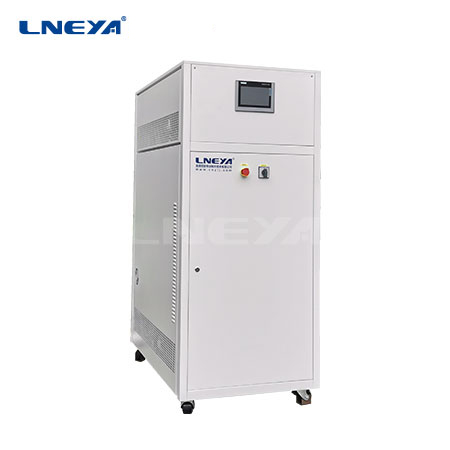
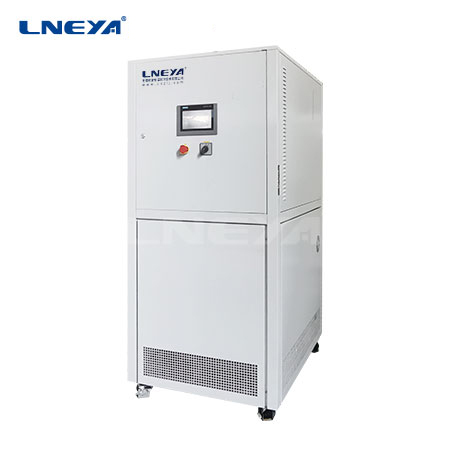
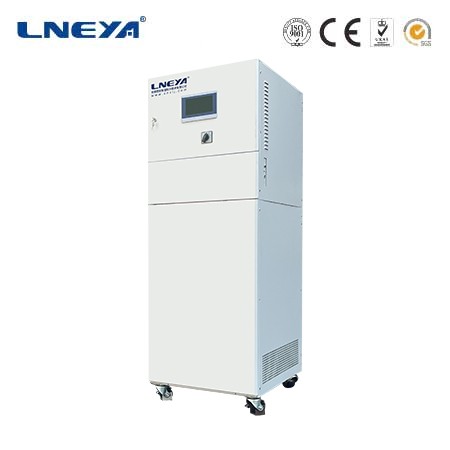
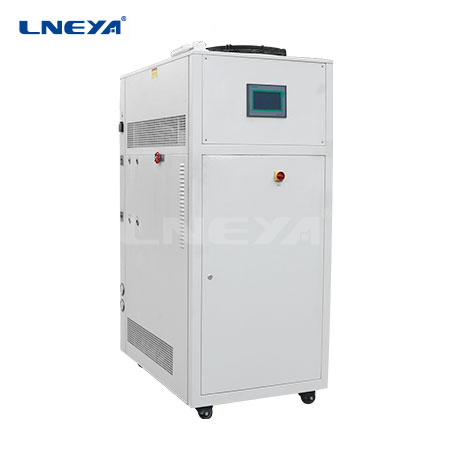
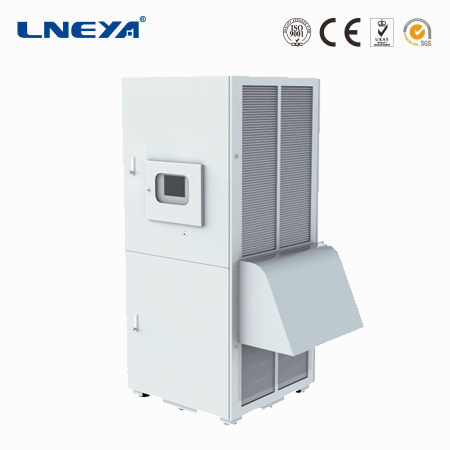
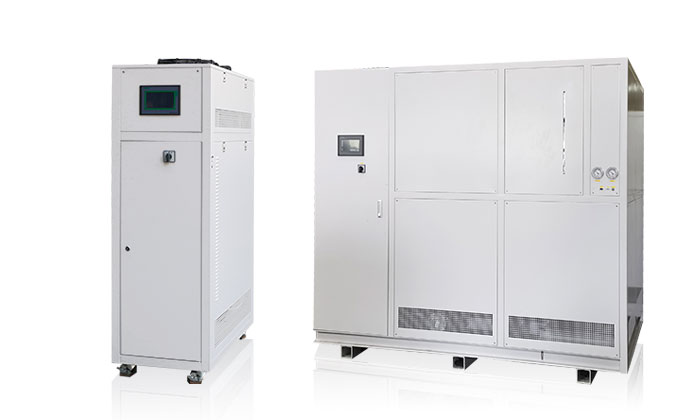
Temperaturregelbereich: -150°C bis +50°C
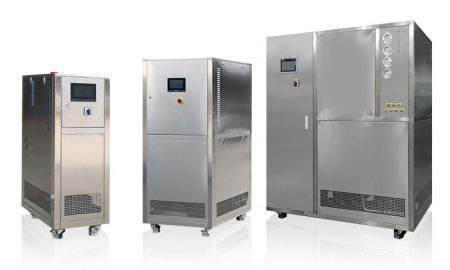
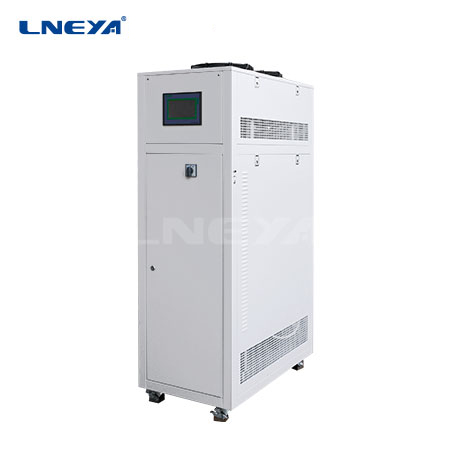
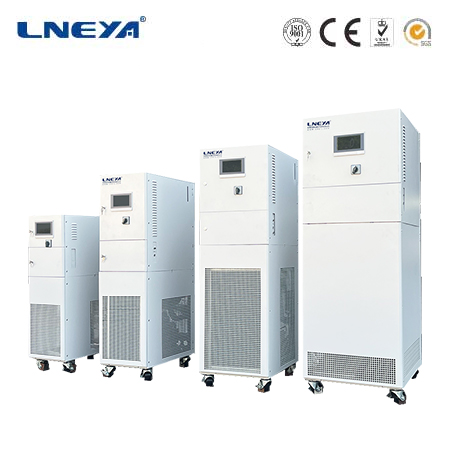
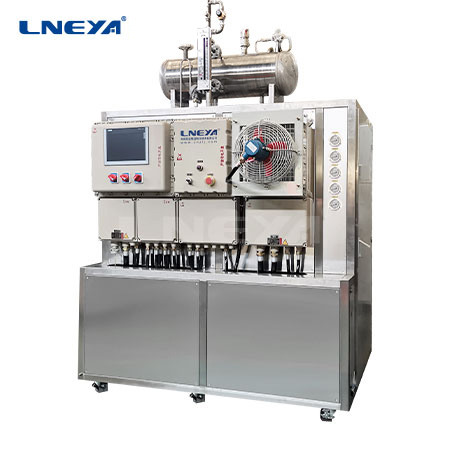
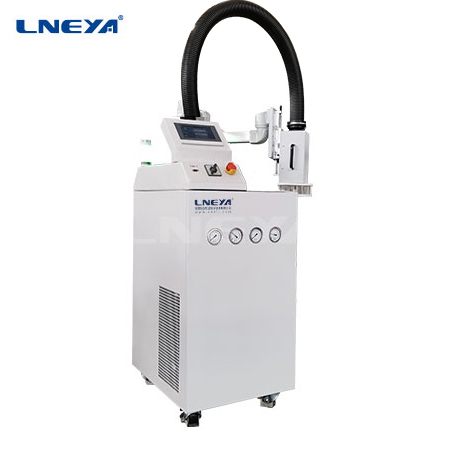
Dynamische Temperaturkontrollsysteme
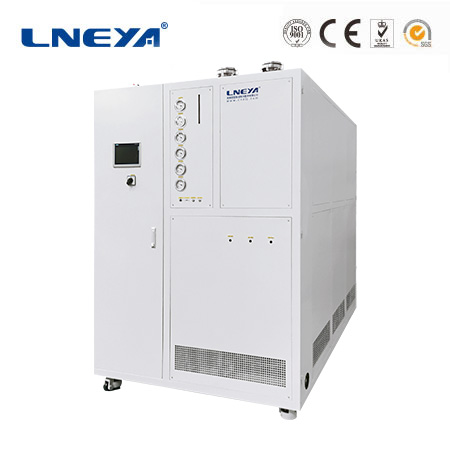
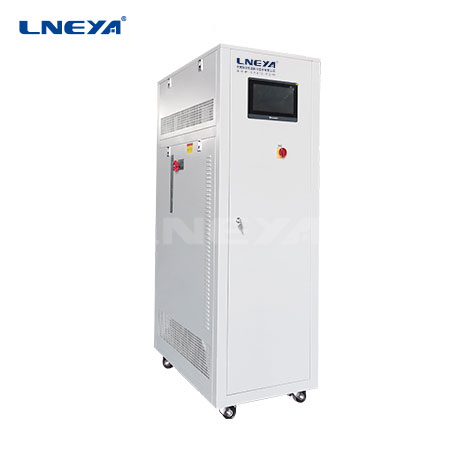
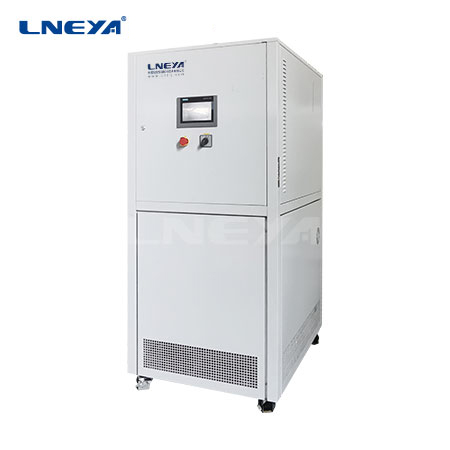
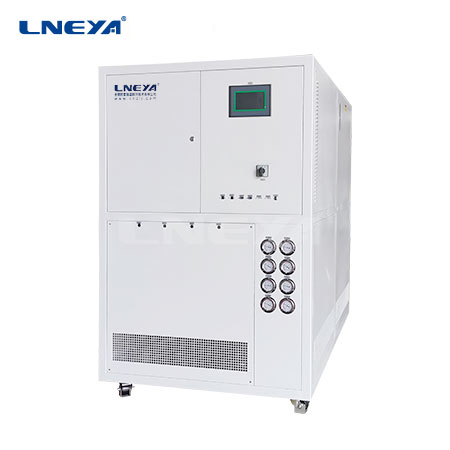
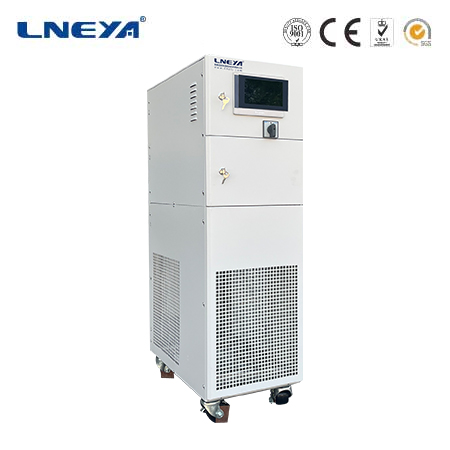
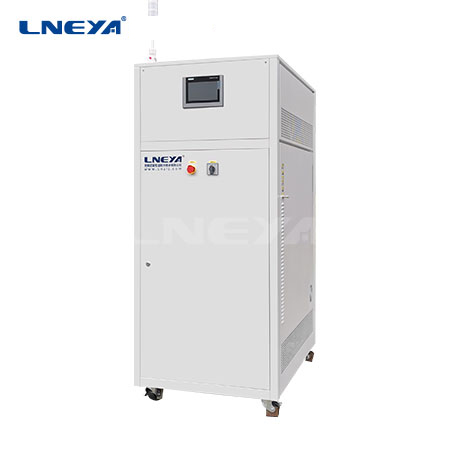
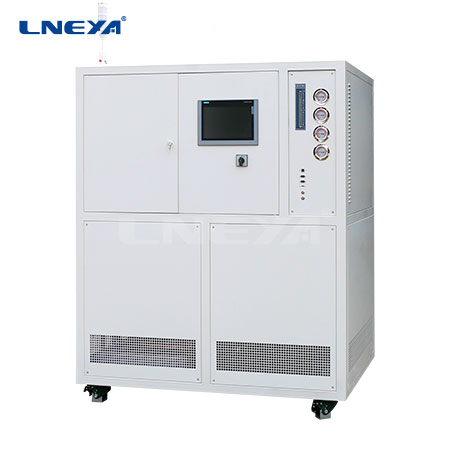
Temperaturregelbereich: -120°C bis +350°C
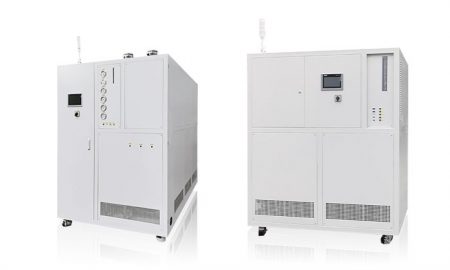
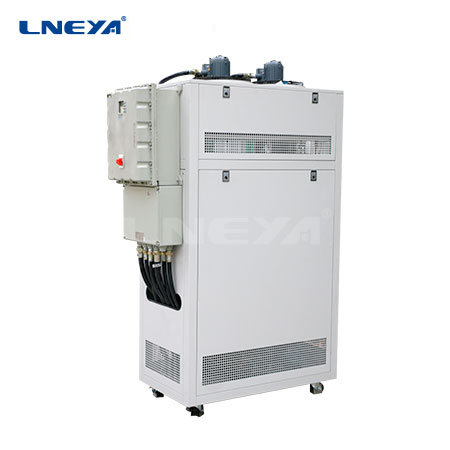
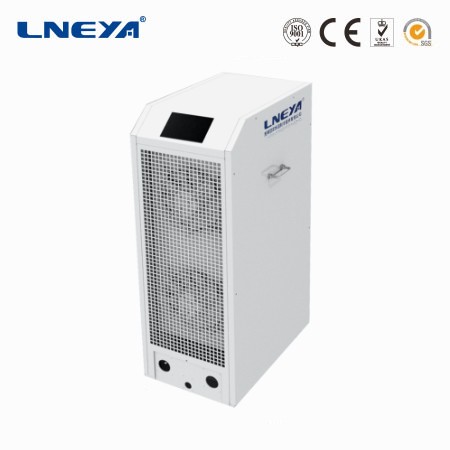
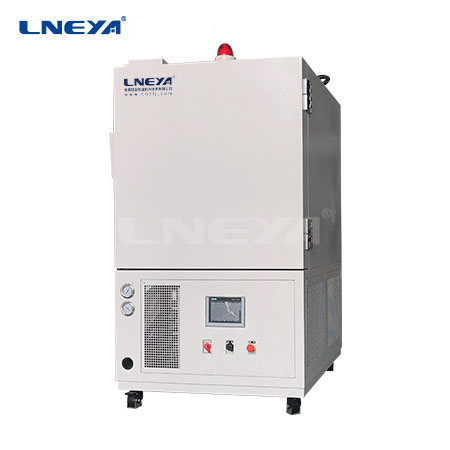
Test-Kühlgeräte für Kraftfahrzeuge
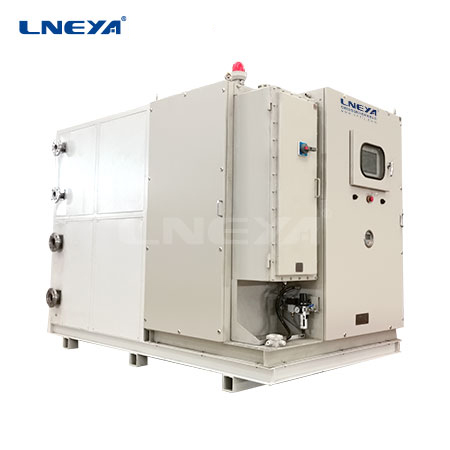
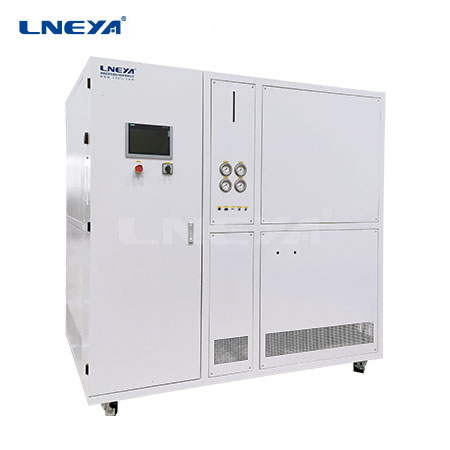
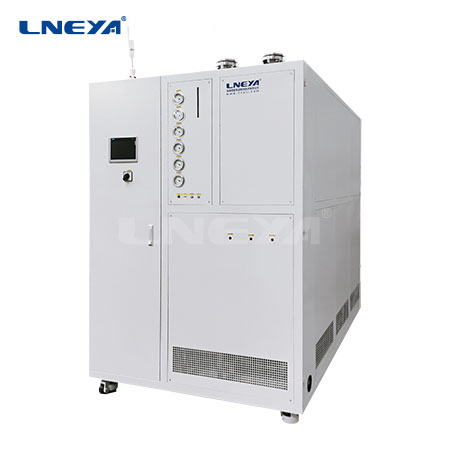
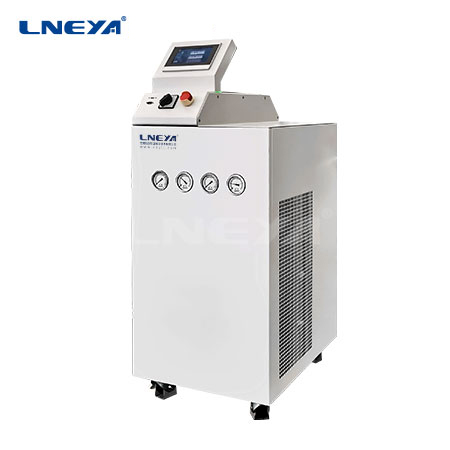
Temperaturregelbereich: -40°C bis +100°C
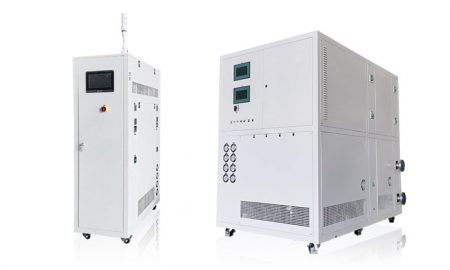
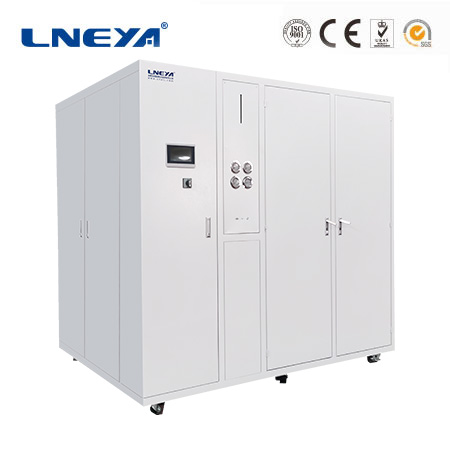
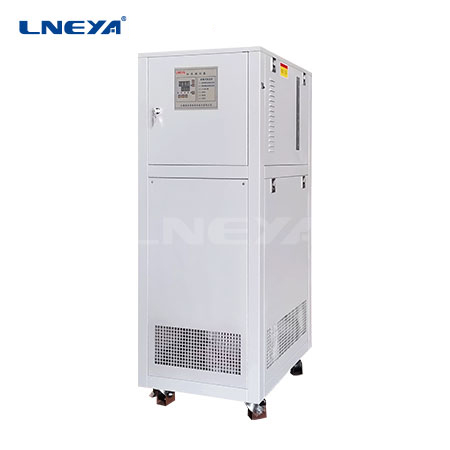
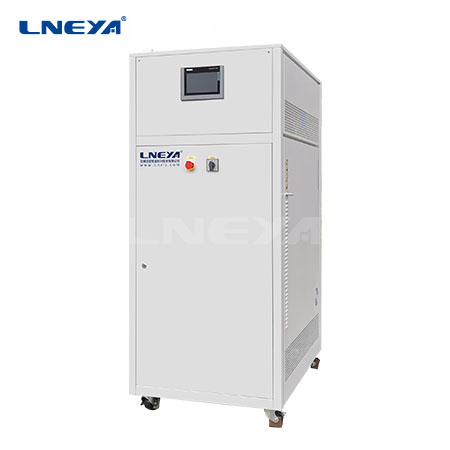
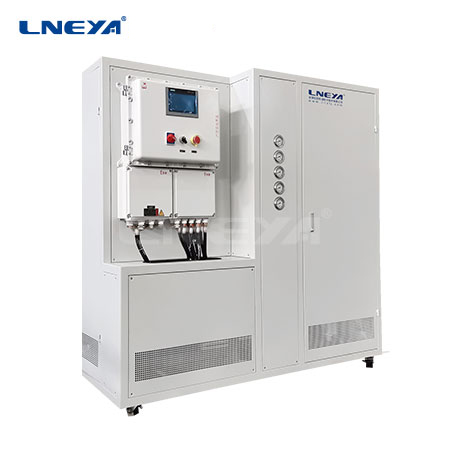
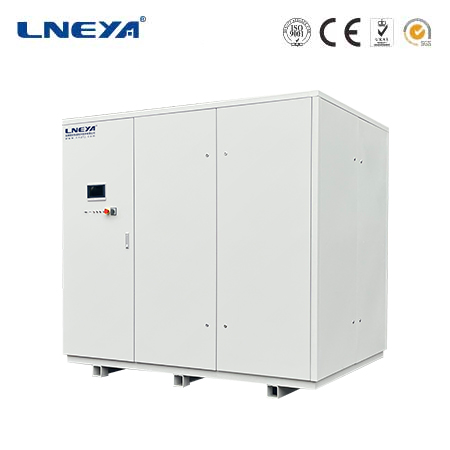
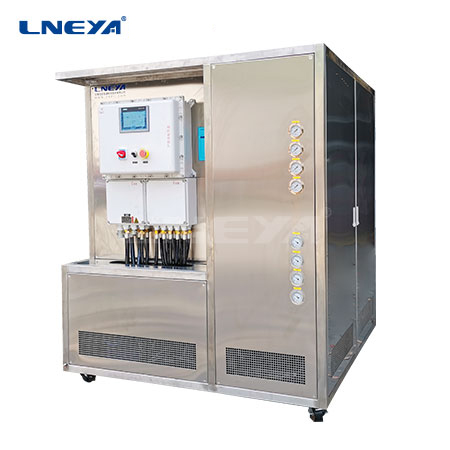
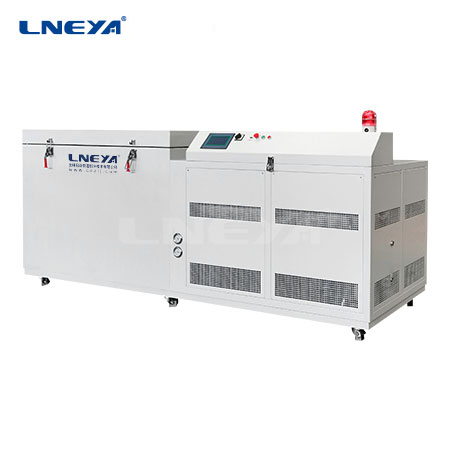
Temperaturregelbereich: -85°C bis +250°C
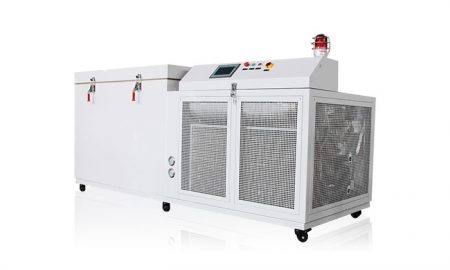
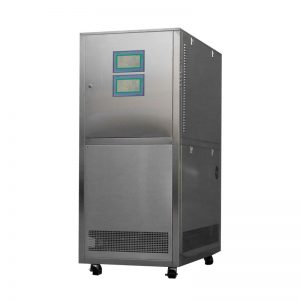
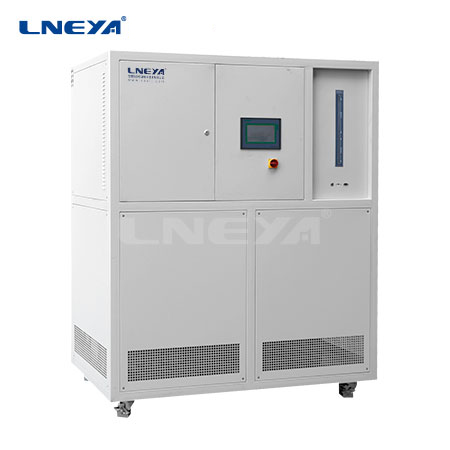
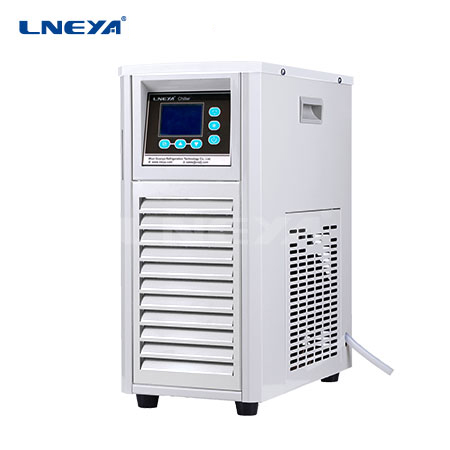
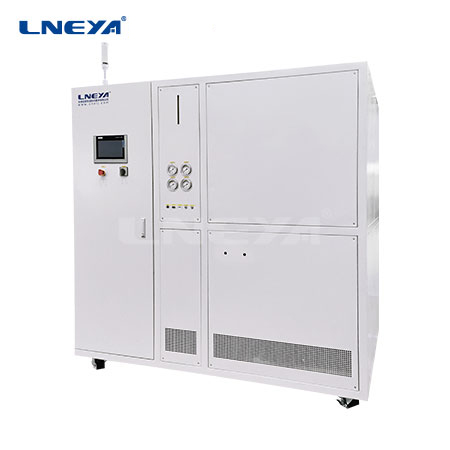
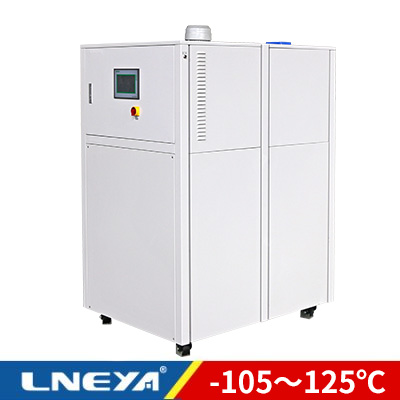
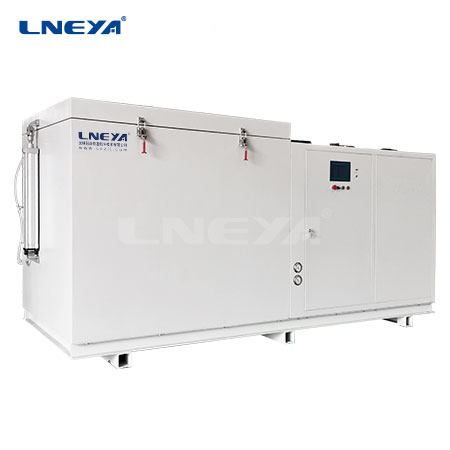
Temperaturregelbereich: -150°C bis -10°C
Das Copyright liegt bei lneya-online.com, bitte kontaktieren Sie uns per E-Mail für weitere Informationen: lilia@lneya.com
Oder scannen Sie den unten stehenden WhatsApp- oder WeChat-QR-Code, um uns zu kontaktieren.
WhatsAPP WeChat